Introducing, The Foxy Sniper
- mmgsozarks
- Dec 8, 2025
- 4 min read
By Michael Collins 10/28/2025

Photo credit: Michael Collins
Fly tying, a place where creative minds run wild!
When I started my fly tying journey (2002), it was in a time when information was not nearly as easy to come by. The internet was new enough that my parents didn’t have it, and the only ideas for flies I had were the ones I already possessed. or could be found in magazines. I did not have many. I relied on pictures, memory, and most of all, creativity.
There’s something fascinating to me about the ability to take random materials and turn them into a usable fishing lure. In a world where almost anything can be considered a tying material, creativity can run free and clear. After all, the only real rule is that it needs to fool a fish.
As a 23-year fly tying vet, I have had my fair share of creative sessions at the bench. Many ideas are duds, some are outright abominations, and a select few slide through the selection process. My selection process (post bench observations) is simple. Go out and fish the fly. I like to do this on flat and moving water, as some flies will act differently depending on the presence of current. If the fly swims and the desired action is achieved, I have a winner!
The Foxy Sniper is one such winner. Born out of a desire to make good use out of an Arctic Fox tail I bought from Jeff Preddy at The Fly Hair Co, it uses a tricked out custom dubbing brush, shank, big ol’ hook, and plenty of flash. The best part is, they tie up crazy fast!
The Brush
The fly is more or less tied on the wire of the dubbing brush. From here we just add it in and trim it up. The only thing you will need to add besides hardware is some Sunburst Fibers.
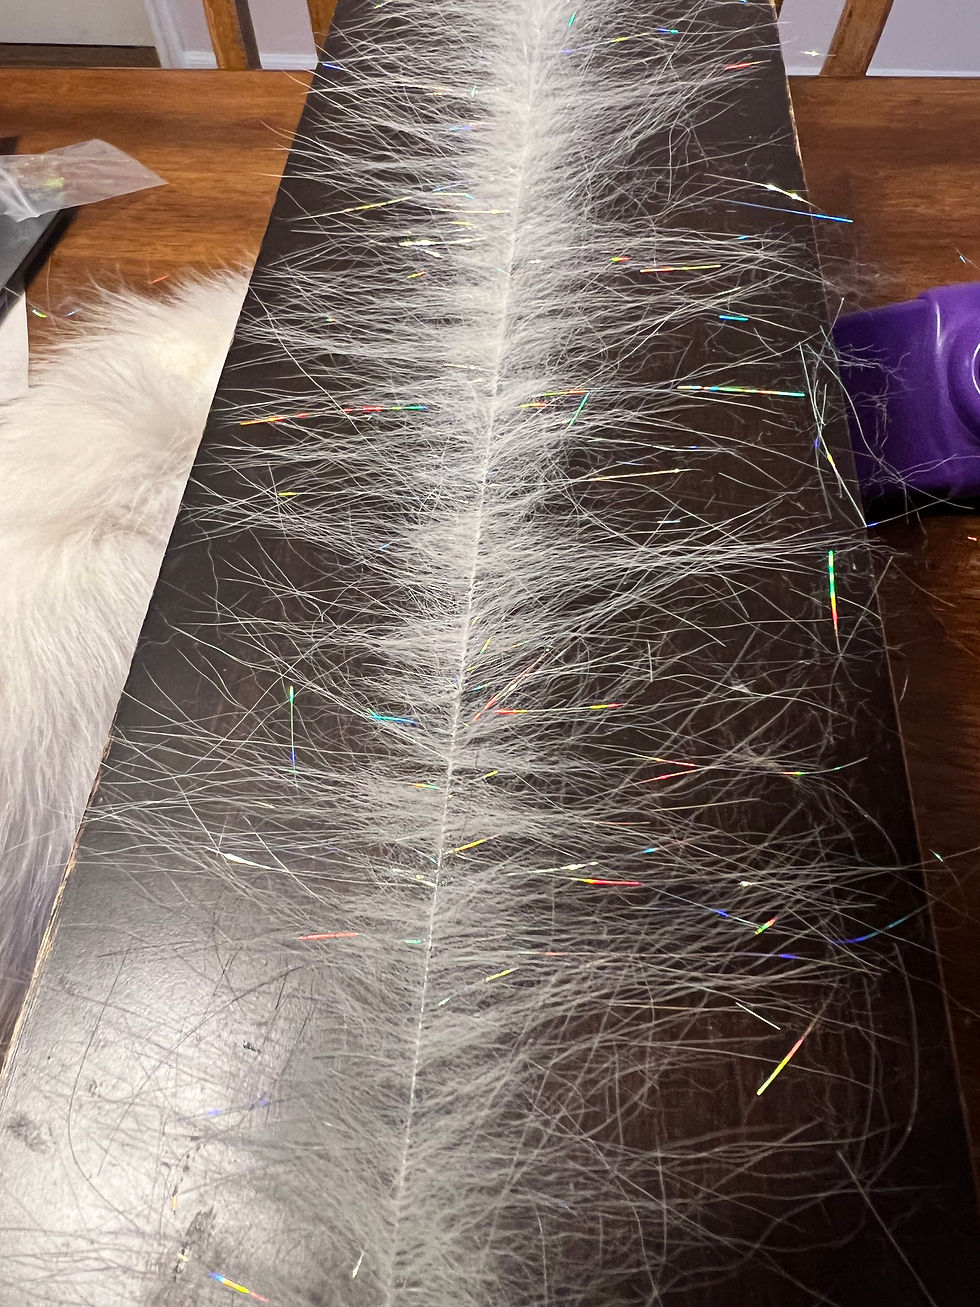
Photo credit: Michael Collins
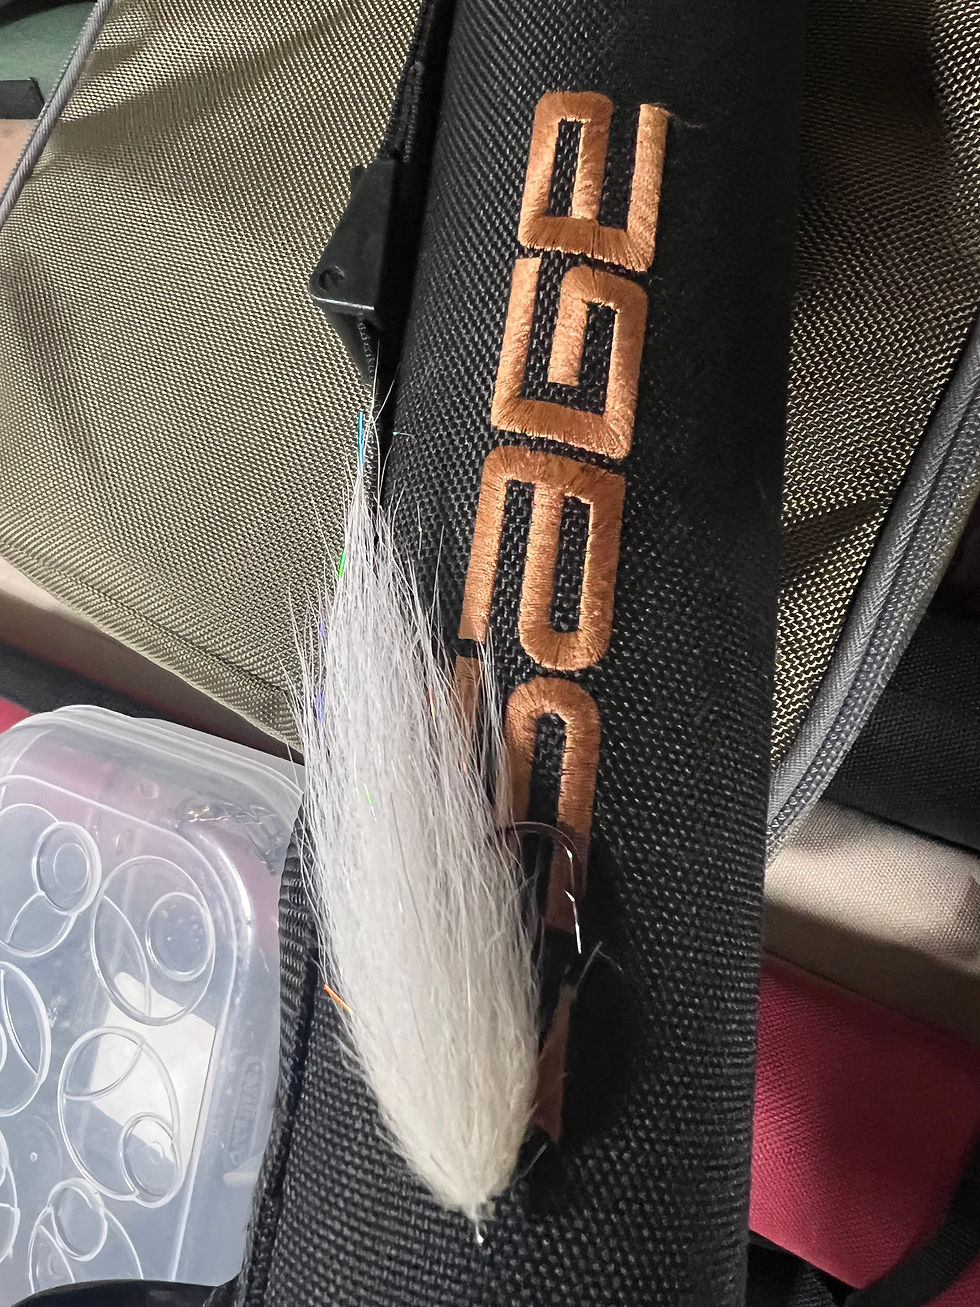
Photo credit: Michael Collins
The finished Product, ready to be attacked by hungry bass. Once you have the brush built, these take 5-7 minutes to tie.
The Testing Grounds
Random patterns don’t just get thrown in the fly box. Only a select few make it in. Testing typically goes on for an entire season, and even then, it may need to be tweaked a little more. This pattern didn’t need much. It became less about how I tie the fly, and more about how I control portions of material on the Oasis Dubbing Brush Table.
Testing in the Missouri Ozarks is a treat. Our Smallmouth Bass are insane and have the innate desire to kill everything in sight, especially if the conditions are right. As long as the fish are biting, I can get a good idea of how they are reacting to the action.
With this fly, I wanted a swimming effect that doesn’t straighten out when pulled through the water with an uncomfortable amount of retrieval speed. Some flies stop wiggling and swimming when you burn them in. Not this one! I also wanted it to cast easily when wet, a challenge for any large fly designer. I think it does okay on that front, and casts about how I expected it to. Not nearly as bad as a gamechanger of most varieties, but not as light as a Bob Popovics Deceiver design. Lastly, I wanted it to push water, which it most definitely does. The brushy BulkHead front of the fly acts similarly to a bucktail BulkHead.
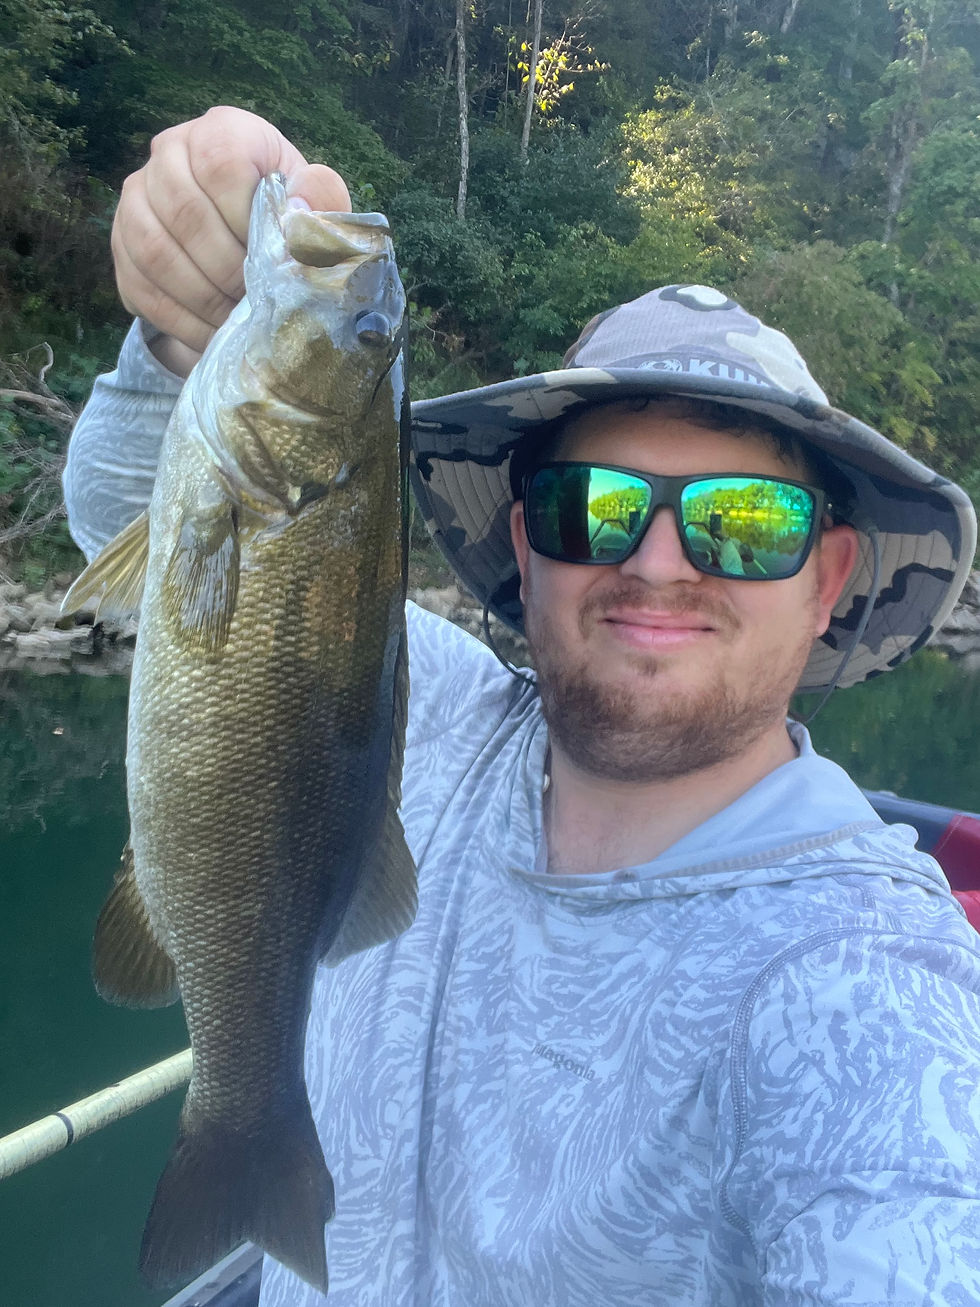
Photo credit: Michael Collins
How it’s done.
Below is a quick and dirty version of how I tie these. You can purchase the custom brushes from me (as well as the flies). See that information below the bottom of the article.

Photo credit: Michael Collins
The Bones
Here is the hardware for the fly. A big heavy 2/0 Gamakatsu B10s up front, and a 10mm shank in the rear. I connect my articulations with coated .45mm beading wire. NOTE: I start the tie with everything disconnected.

Photo credit: Michael Collins
Halfway there
The tail is tied into the shank, and a couple wraps of FTD Arctic Flash hide the tie in point. Then we add the tail piece to the main hook via the wire connection. Once the tail piece is connected, I wrap Arctic Flash up the shank until I get to about ⅓” from the eye.

Photo credit: Michael Collins
The Meat & Taters
Brush time: Tie it in by the wire and stroke the fibers back with each quarter turn around the hook shank. Once you reach the eye, tie it off and clip it out with wire cutters. Cover up the tie off point and any sharp edges from the wire. Brush out everything. From here, I give the front of the fly a 360-degree trim in the same style as I would for a BulkHead Deceiver. For those who are not familiar with the teachings of Bob Popovics, trim the front of the fly into a clean cone shape. Done.

Photo credit: Michael Collins
Thank you for reading! If you’re interested in booking a fishing trip here in the Missouri Ozarks, get ahold of me! I’m now booking for Trout, Smallmouth, and Grass Carp trips for 2026. Current Locations:
Creek X (Nice Try)
Misty Mountains Guiding Service Supporters:
Share & follow
For any inquiries, please contact:
Phone Number: 573-823-9057
Email: mmgsozarks@gmail.com
Website: mistymountainsguidingservice.com
YouTube: Misty Mountains Guiding Service
Facebook: Misty Mountains Guiding Service
Instagram: @mistymountainsguidingservice


Comments